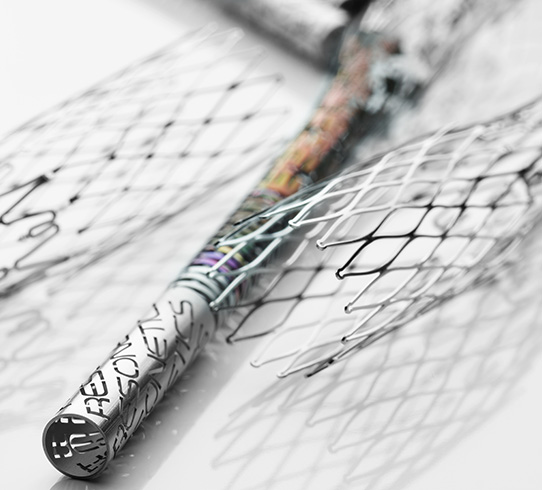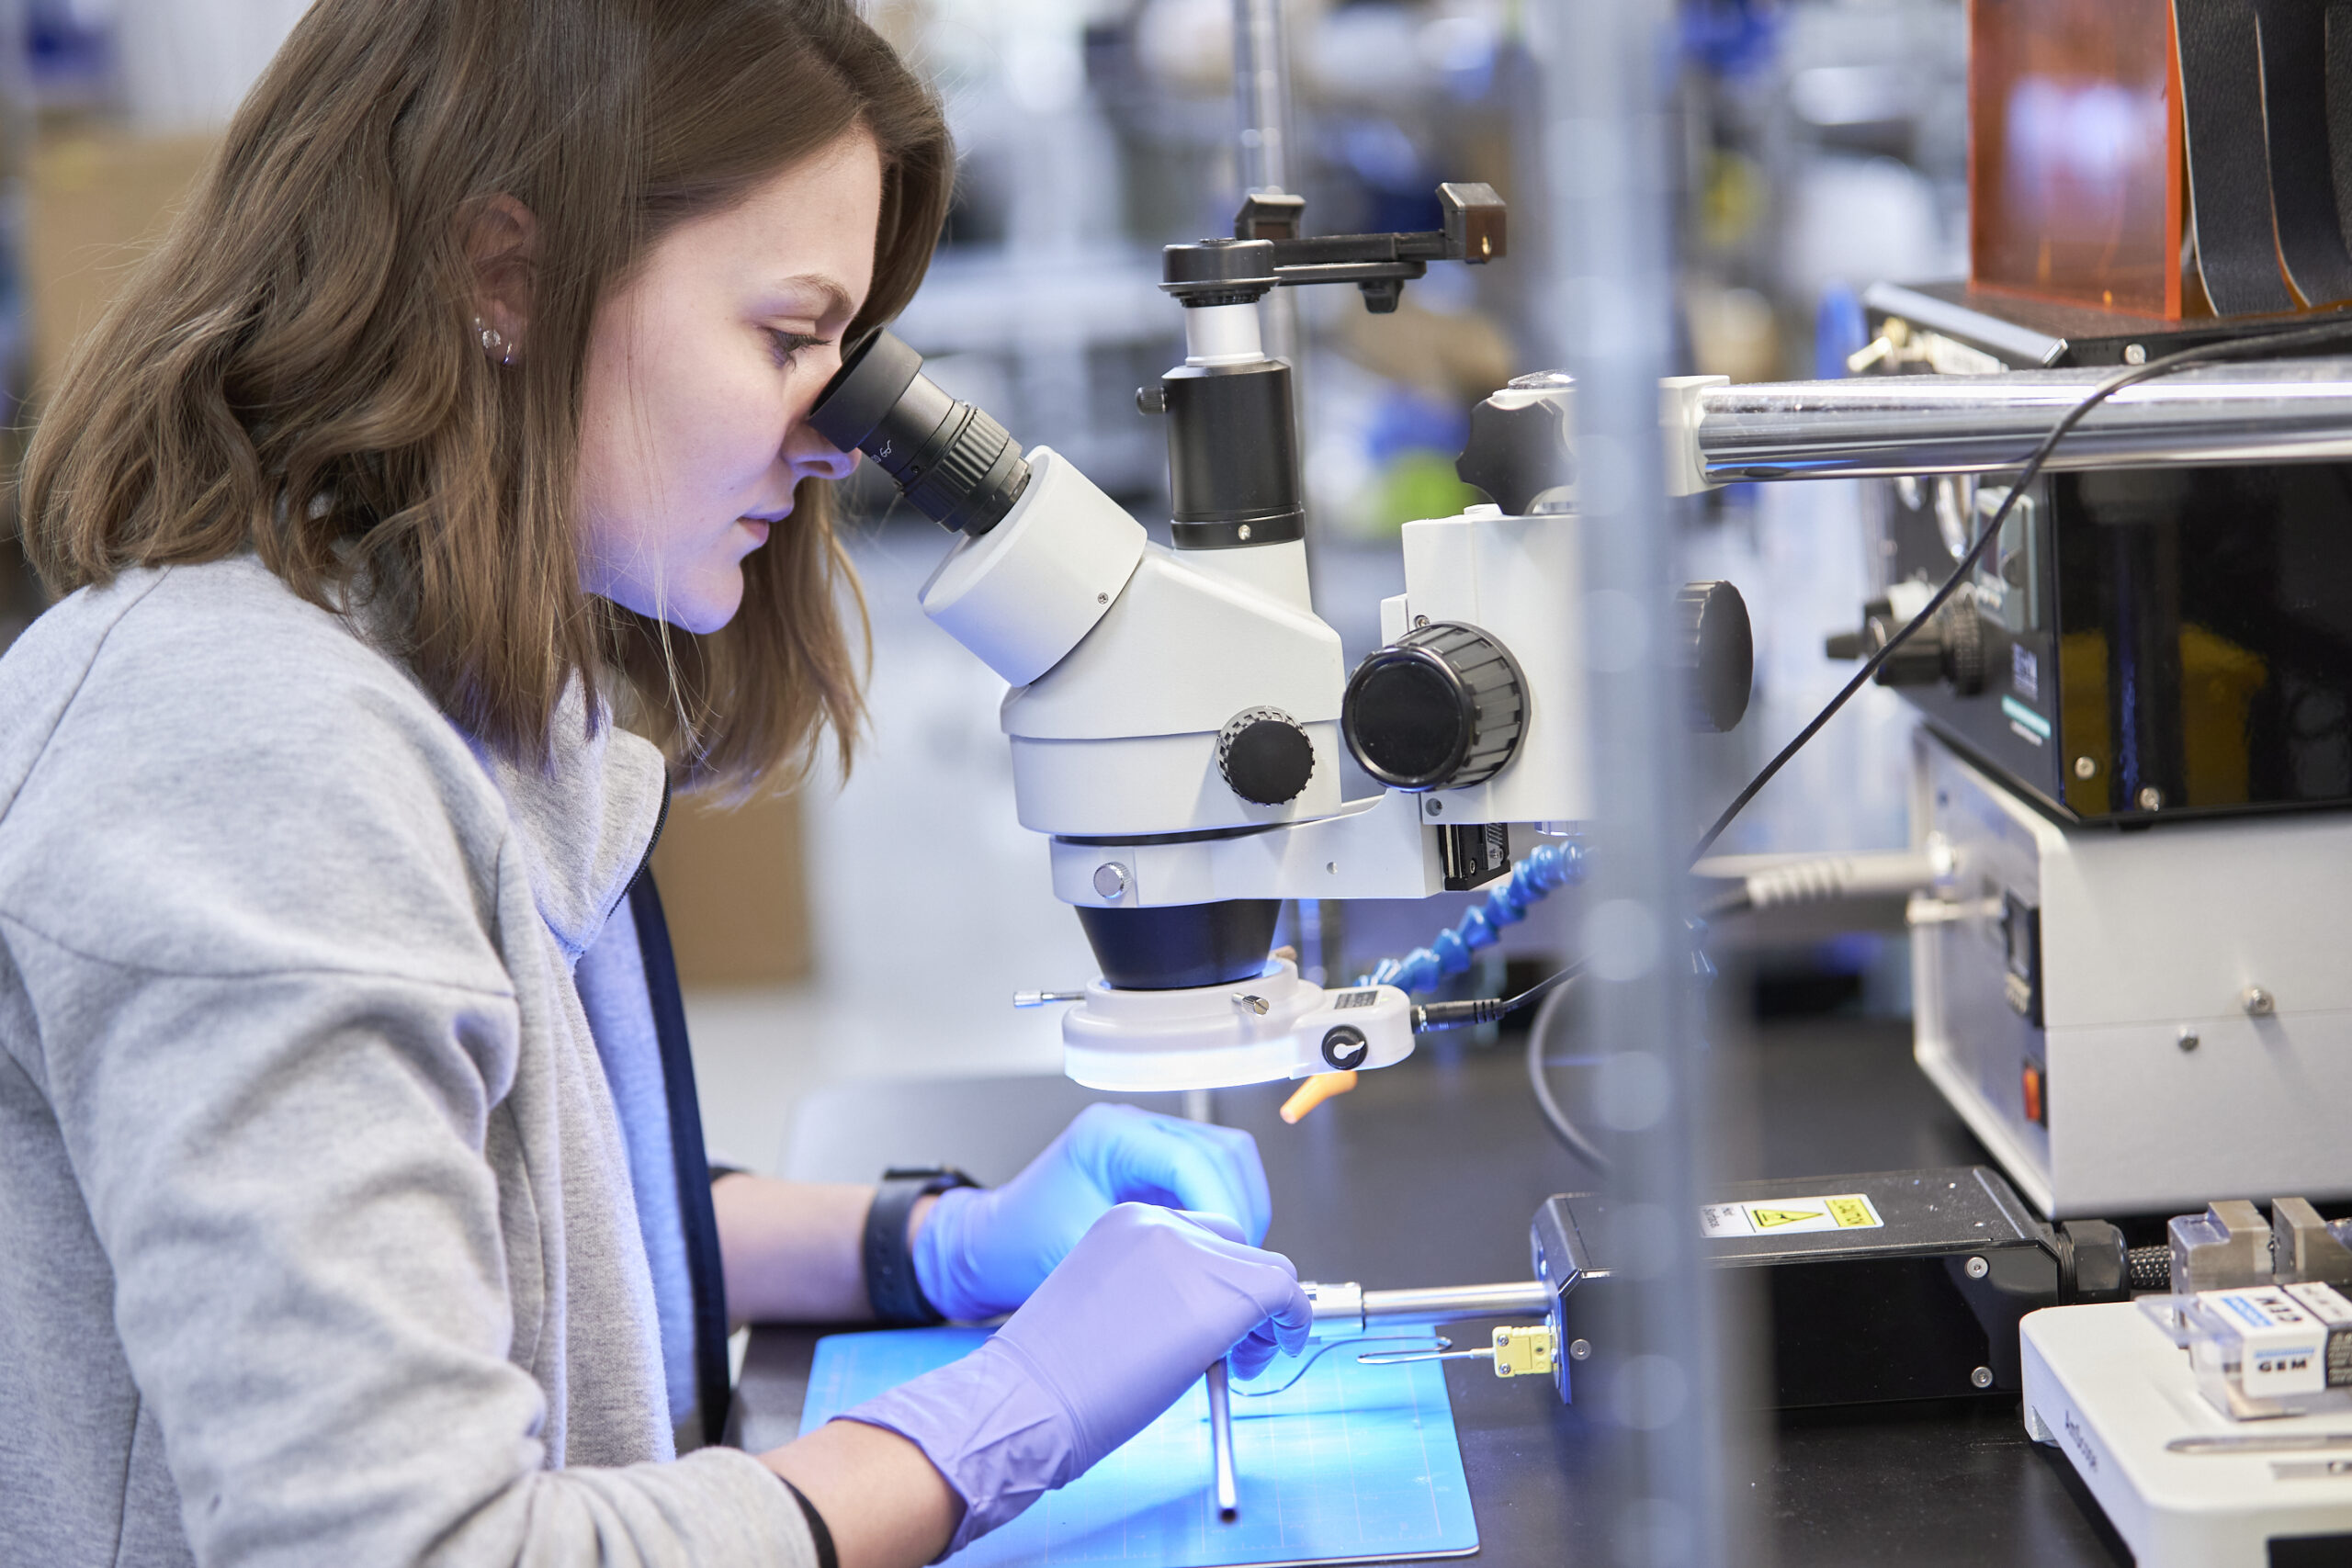
Photochemical Machining (PCM) is a multi-step process that harnesses the power of light and chemistry to create precise metal components. This intricate process involves several critical steps, each requiring meticulous attention to detail and precision.
The PCM Process
The PCM process begins with a photo tool, also known as a mask, which transmits light to create a pattern on a photosensitive material. This photosensitive layer then protects the metal during the etching process, effectively replicating the mask’s design onto the metal surface. As feature sizes decrease, achieving higher precision becomes essential, demanding greater control and a thorough understanding of each step.
During the etching process, metal is removed from the openings in the photoresist pattern. The etching continues even after the metal reaches breakthrough, aiming to achieve nearly straight hole sidewalls. This continued etching results in an undercut of the photoresist, necessitating a slightly different image on the photo tool than the target etched metal size. This difference, known as photo tool compensation, varies based on metal thickness and feature type. Correct photo tool compensation is crucial for the process design.
Etching Control
Photo Etching Control Engineers can adjust the etching time to control the sidewall shape, ranging from convex to concave. By making the image size smaller on one side of the product, the side slope of the hole can be controlled to create a micro funnel effect.
Precision Cleaning
The first step in the photo etching process is cleaning the metal. Stainless steel, known for its resistance to staining, can inhibit proper etching due to its high chromium content forming tenacious oxides on the surface. Precision etching requires the controlled removal of this chromium oxide layer before bulk metal etching.
Coating with Photo Resist
After cleaning, a high-resolution photoresist is applied to the metal. The photoresist can be a laminated film (dry film) or a liquid. This step must be performed in a cleanroom to prevent voids, bubbles, or contamination, ensuring high yields on precision products.
Exposure to Light
Next, the photoresist is exposed to collimated light through the photo tool. This step requires precise alignment of the top and bottom images, with equipment capable of aligning within a few micrometers to ensure accuracy.
Developing the Photo Resist
Following light exposure, the photoresist is developed to remove it from areas designated for etching. This step requires controlled chemistry and fluid delivery to achieve the desired feature size with sharp photoresist edges.
Metal Etching
The product then moves to the metal etching stage. For stainless steel, the typical etching chemistry is ferric chloride-based. Maintaining a consistent etch rate requires controlling various factors, including chemical concentrations, pH, and oxidation-reduction potential (ORP). Understanding the fluid exchange process at the substrate is essential, with factors such as viscosity, impingement, exchange rate, and surface tension playing crucial roles in defining precision features.
In-Process Control
Throughout these processes, in-process control and feature size measurements are vital. Engineers perform measurements with equipment having 10X greater accuracy than the product tolerances. Proper sample size and frequency are necessary to define true process capability (Cpk) results. Automated optical inspection can often be utilized to achieve 100% inspection.
The PCM process is a highly controlled and precise method for creating detailed metal components. Each step, from cleaning to final etching, requires a thorough understanding and meticulous control to produce high-quality results.
